|

Login - Specialist suppliers
Login - Sales representatives
|
Craft ideas and instructions
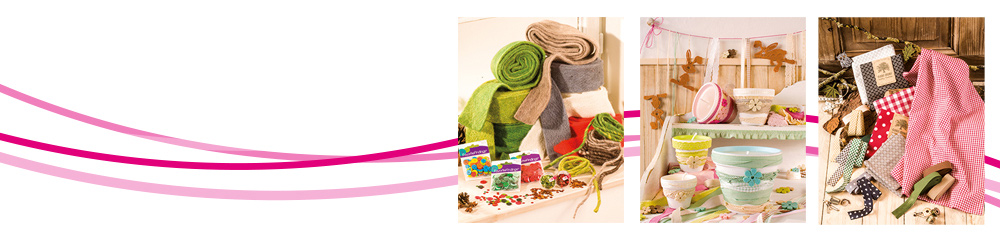
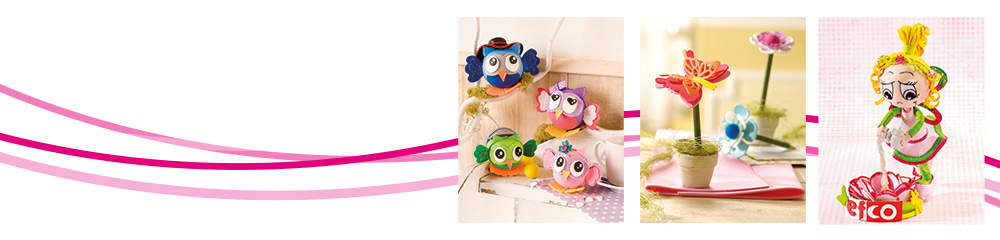
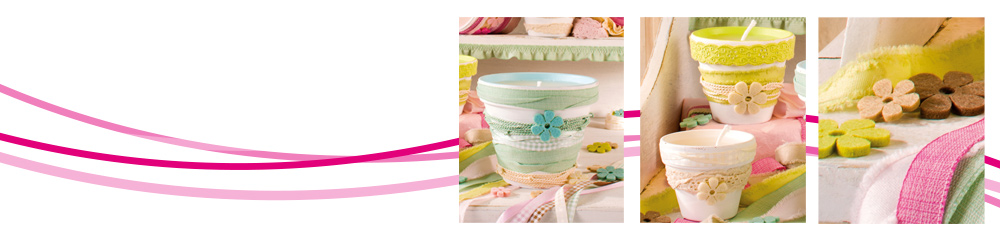
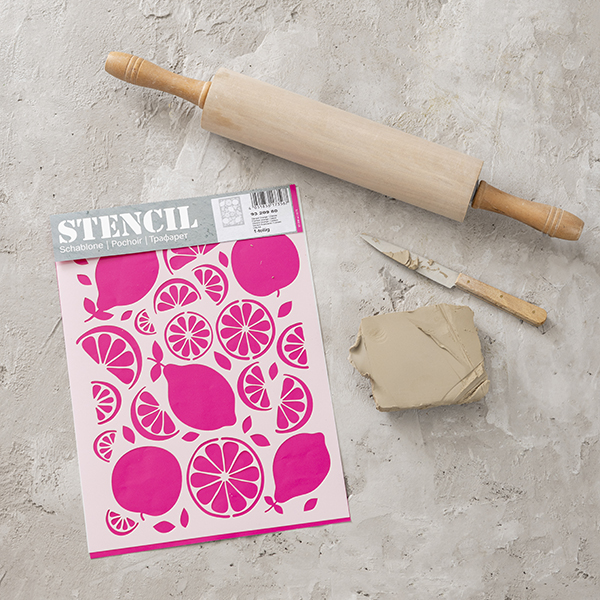
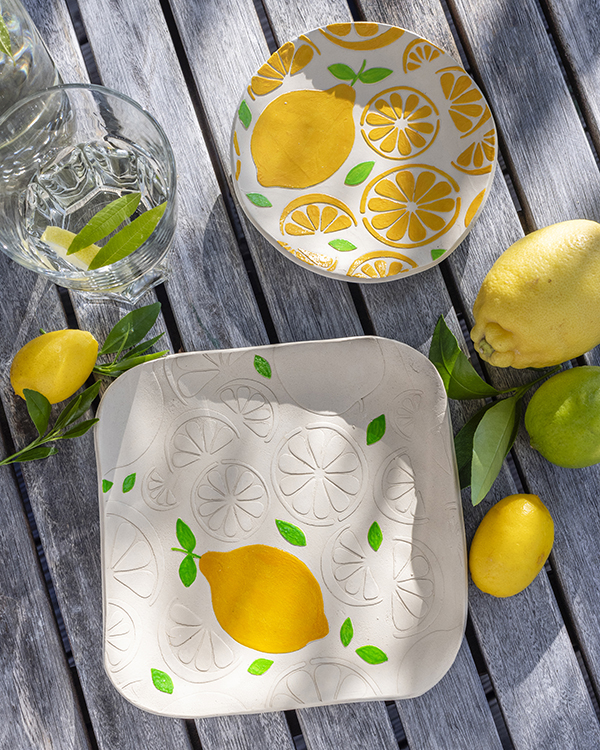
Making summer crockery
Idea and realisation: Kathleen Hauck
|
enlarged picture
enlarged picture
|
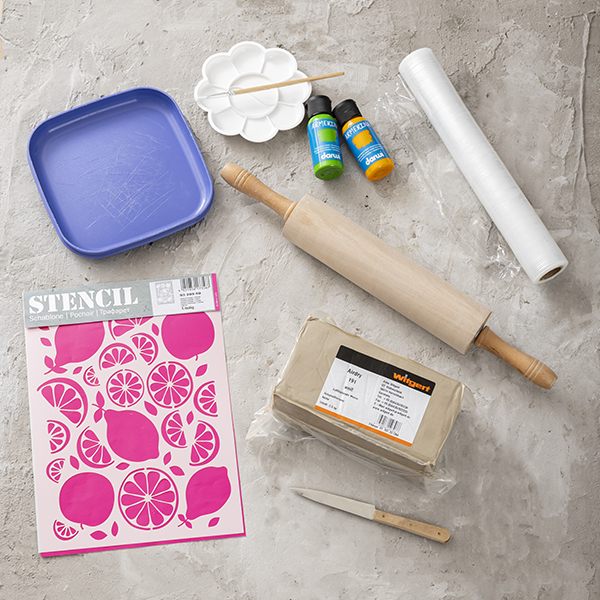
List of materials
| Art. no. | Name of article |
| 1825315 | Handycraft and clay knife, wooden handle, 175 mm, 1 pc. |
| 1880406 | Flat paintbrush synthetic hair, Gr. 6 / 6 mm |
| 1807000 | Paint palette, round, 9-10 parts, ø 13,5 cm |
| 4205701 | Clay mass Airdry, air-drying 20 - 110°C, 2,5 kg, white |
| 9320980 | Stencil, Orange / Lemon, DIN A4, 1 part |
| 1910611 | ARMERINA, paint for ceramic, ø 33 x 93 mm, 50 ml, light green |
| 1910720 | ARMERINA, paint for ceramic, ø 33 x 93 mm, 50 ml, dark yellow |
| Additional: rolling pin, a bowl/plate, cling film |
|
Instructions
| 1. | Cut off a piece of the clay block and roll out to the desired size or thickness. Make sure there is enough space and choose the right surface for rolling out. Untreated wood such as beech or spruce, a piece of cotton fabric or a sponge rubber sheet are suitable. To roll out an evenly thick sheet, always roll across the entire width, but never to the end (length). Always leave out about 2 cm at the top and bottom, otherwise the clay will be flatter there than on the rest of the surface. Only roll once and then turn the clay. Don't just turn the clay by 90°, but also turn it over, i.e. place the top side downwards. This prevents the clay from sticking to the surface, compacts it evenly and prevents cracks from forming. Place the stencil on the rolled-out clay and roll over it again with very light pressure. Carefully peel off the stencil and smooth any edges with your finger. |
| 2. | Cut the clay to the desired size using the clay knife. Cover the plate or bowl with cling film and place the cut clay inside. Carefully place the clay in the shape of the plate/bowl and smooth the edges with your fingers if necessary. Leave to dry. After a day at the latest, carefully remove the plate from the cling film and the plate and leave to dry. It can be dried in the air or in the oven. To shorten the drying time, the clay can be dried in the oven at 110 °C for approx. 2 hours after air drying for 24 hours. However, this process is not absolutely necessary. The clay can also be left to dry exclusively in the air, which will then take a little longer. If there are still slight unevennesses or edges after drying, these can simply be sanded with fine sandpaper (item no. 1830100). |
| 3. | Colour the lemons and leaves with the ARMERINA ceramic paint and leave to dry. |
|
|
|
« back to the overview
|
Creative tips
more on the subject »
more on the subject »
more on the subject »
|